Air Filter and Housing Replacement
For those wondering what Westerbeke part #054627 "Silencer Kit" gets you
This is a simple one. Yes, you heard me right. Simple! 🤯
After getting back from a beautiful mid-summer sail in front of Lady Liberty, I noticed the plastic air filter housing on my engine had finally cracked along a weak latch point. How much do we think a fix for this might cost? Let’s take some guesses. $15? $20? Ha! Do you even own a boat? The correct answer is $600 (+ shipping). As it turns out, Westerbeke no longer makes the plastic air filter housing (I wonder why 🙃).
Instead of jury rigging (which, admittedly, could have totaled more like $10), I decided to do the proper fix and get the new aluminum replacement. If that isn’t love…. 😍⛵
Difficulty: Easy 😁
Time: 30 min (1 person)
Weather: N/A
Suggested Tools:
Silencer Kit
$600 aluminum air filter housing replacement kit (35D Three Westerbeke engine model, part #054627)
Socket and Allen wrenches
Screw Driver
Paper towels / stuff to keep your workspace clean
The Fix
This is actually easy. The main reason I wanted to do a post is because the Westerbeke site is pretty unhelpful in describing what this $$ purchase will get you.
Buying the Replacement Parts
Westerbeke calls out that 35C/D plastic housing needs to be replaced with the aluminum version:
When you search the $600 part, you get a confidence-inspiring:
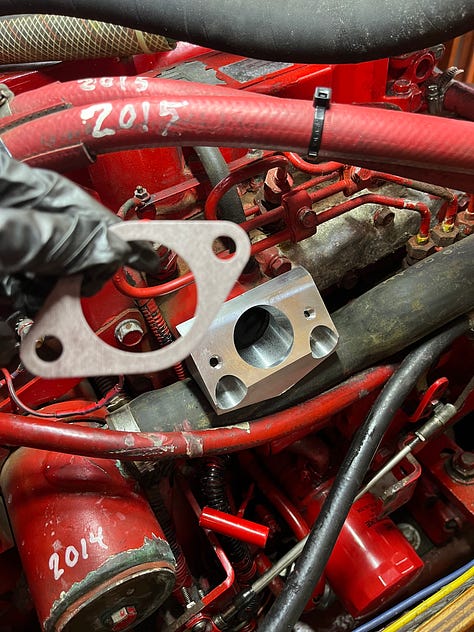
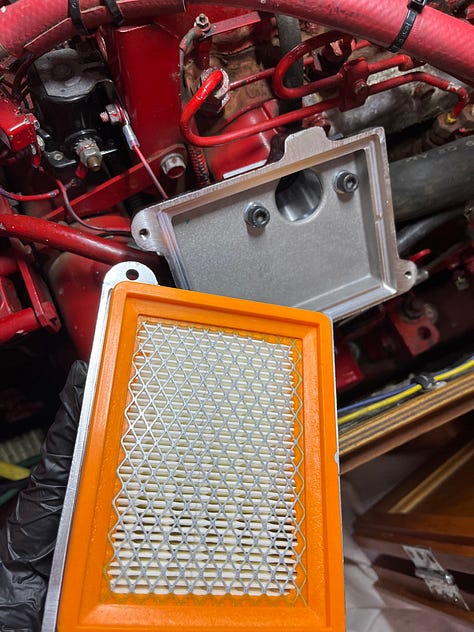
Well folks, I’m here to tell you THIS is what you’re buying:
The #054627 kit comes with:
Air Filter #039705
Adapter, Air Filter #053711
Aluminum Base, Air Filter #053384
Aluminum Housing, Air Filter #053385
Gasket, Adapter to Block #044324
Plus some “extras”
Screws, nuts, washers needed to secure
Air intake tube and hose clamp
Sticker with maintenance instructions
To be honest, this is all very much what you’d expect based on the manual. But listen, I’m from the digital generation. We’re not used to buying without some visual confirmation.
Out with the Old
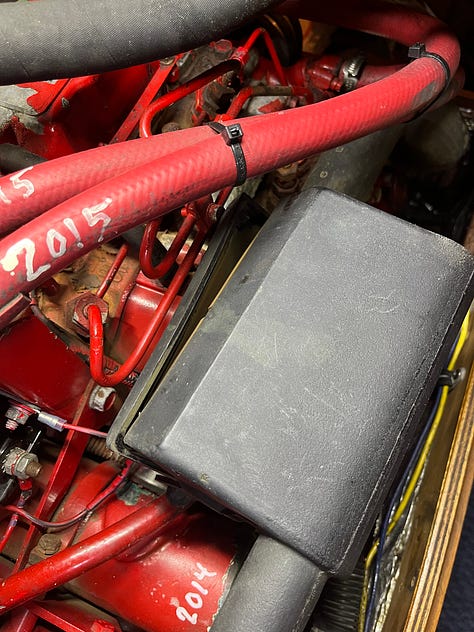
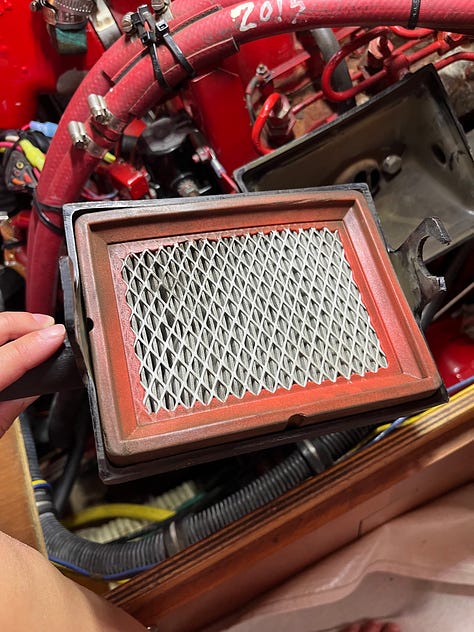
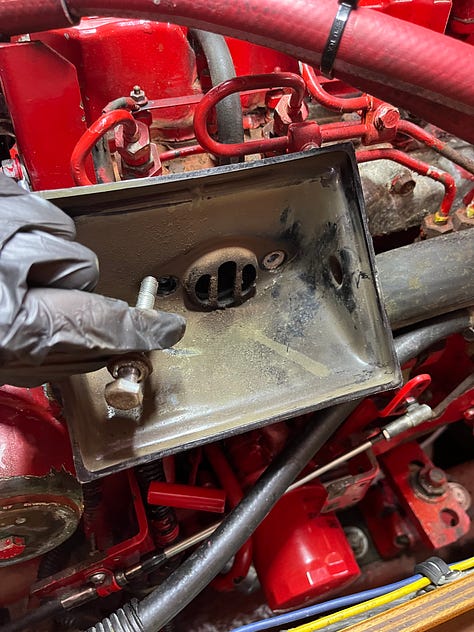
Here’s what the housing looked like when it broke. As you can see, Freedom was due for an air filter cleaning / replacement. Taking it off is as simple as using a socket wrench to remove the housing bolts.
Replace with the New
And then, you guessed it, put the new one on!
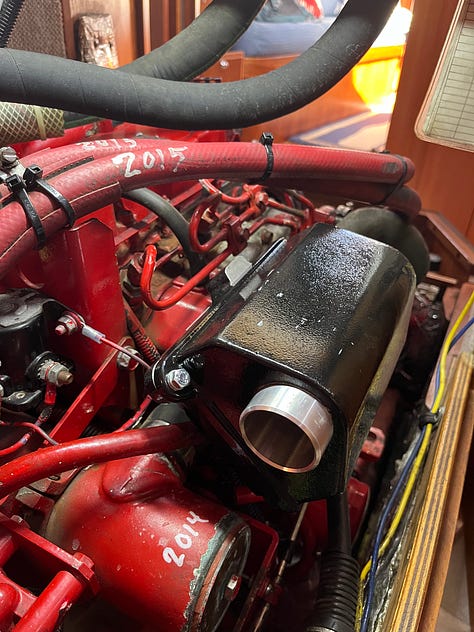
A few notes on assembly:
I found that the new long bolt was too short (wouldn’t catch), so I just used the old bolt.
A reminder on the proper washer order for your hex screws
There were some push nuts included in the bag of screws and bolts. Those go on the back of the screws used to hold the filter housing together.
And that’s it! Done just in time for beer o’clock 🍻


